
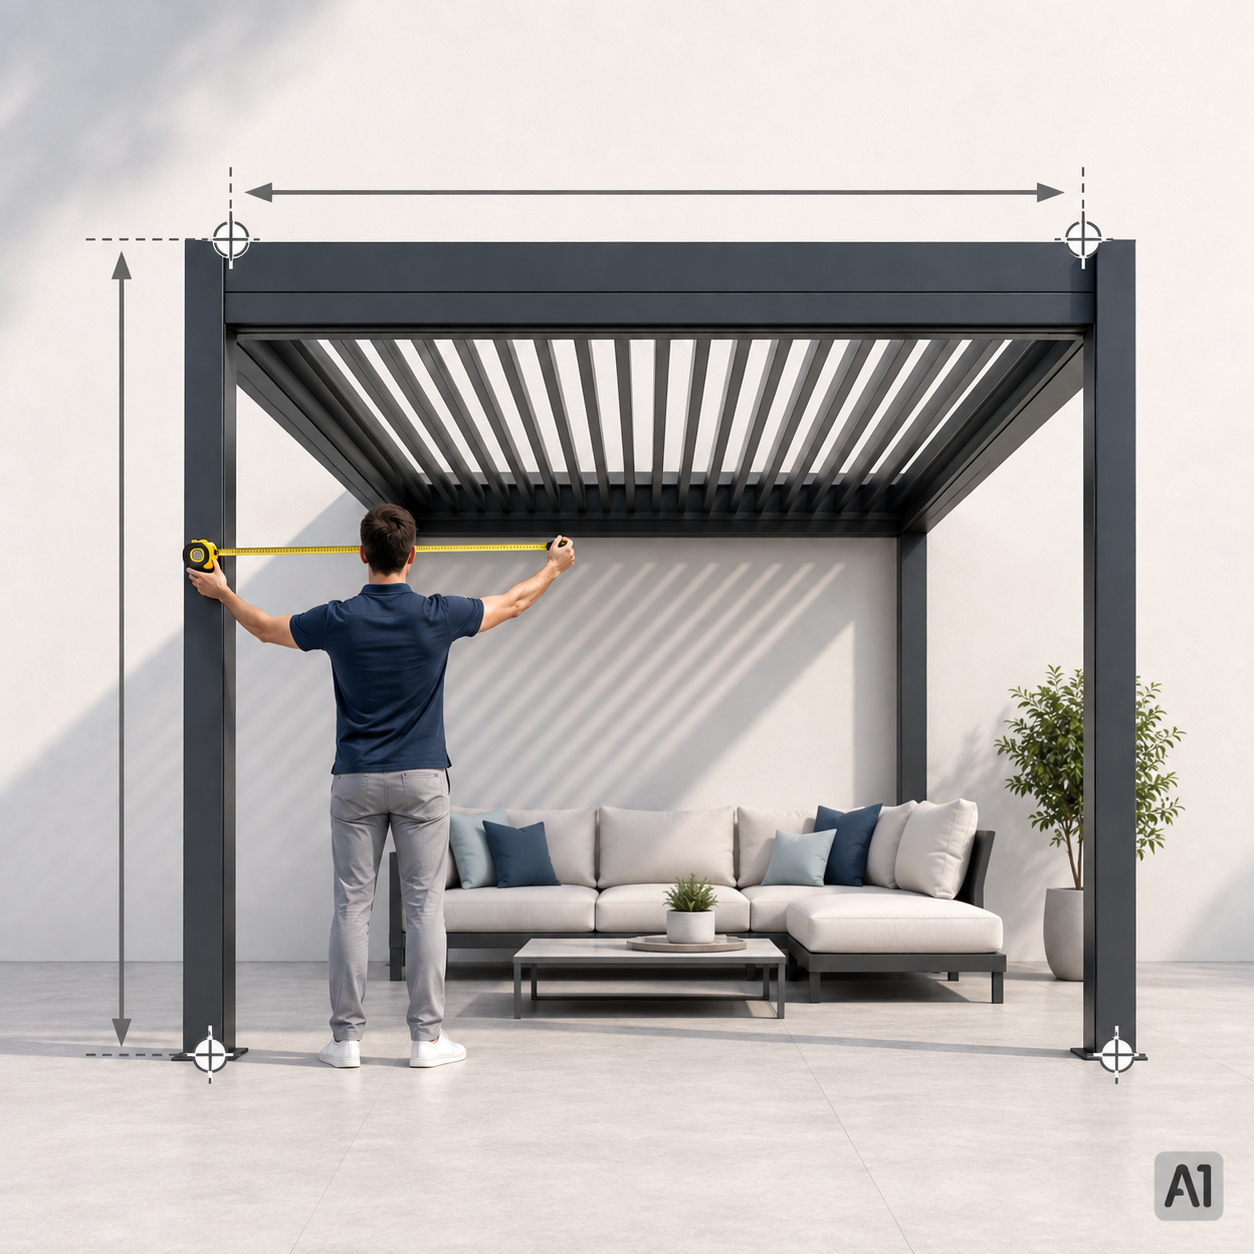
Accurate measurements are the foundation of a properly fitting custom pergola. Getting this step right prevents costly errors and ensures your structure integrates seamlessly with your home and landscape.
Measuring the Installation Area
Start by measuring the total length and width of the space where the pergola will stand. Use a tape measure or laser measuring tool for accuracy, and record measurements at multiple points, since patios and yards are rarely perfectly square. Note the shortest and longest dimensions to account for any irregularities.
Determining Height Clearance
Measure from the ground to any nearby rooflines, windows, gutters, or overhangs, particularly for wall-mounted aluminum pergolas. Standard pergola heights range from 8 to 12 feet, but your specific clearance needs — such as ceiling fans, lighting fixtures, or door swing paths — should guide the final height.
Checking for Obstructions
Walk the perimeter of the intended space and note any obstructions: utility lines, irrigation systems, tree roots, or drainage slopes. These factors affect footing placement and may require adjusting the pergola’s exact position.
Measuring for Wall-Mounted Installations
If attaching to your home, measure the width of the wall section available and confirm it can structurally support a ledger board. Check for existing siding, trim, or windows that may need to be worked around.
Accounting for Louver and Motor Clearance
For louvered and motorized pergolas, add extra clearance space above the frame for the louver rotation mechanism and motor housing. This is typically a few additional inches beyond the visible frame height.
Confirming Before Ordering
Once measurements are complete, we recommend a professional site visit to confirm dimensions before your custom aluminum pergola is manufactured, ensuring a precise, error-free fit.