
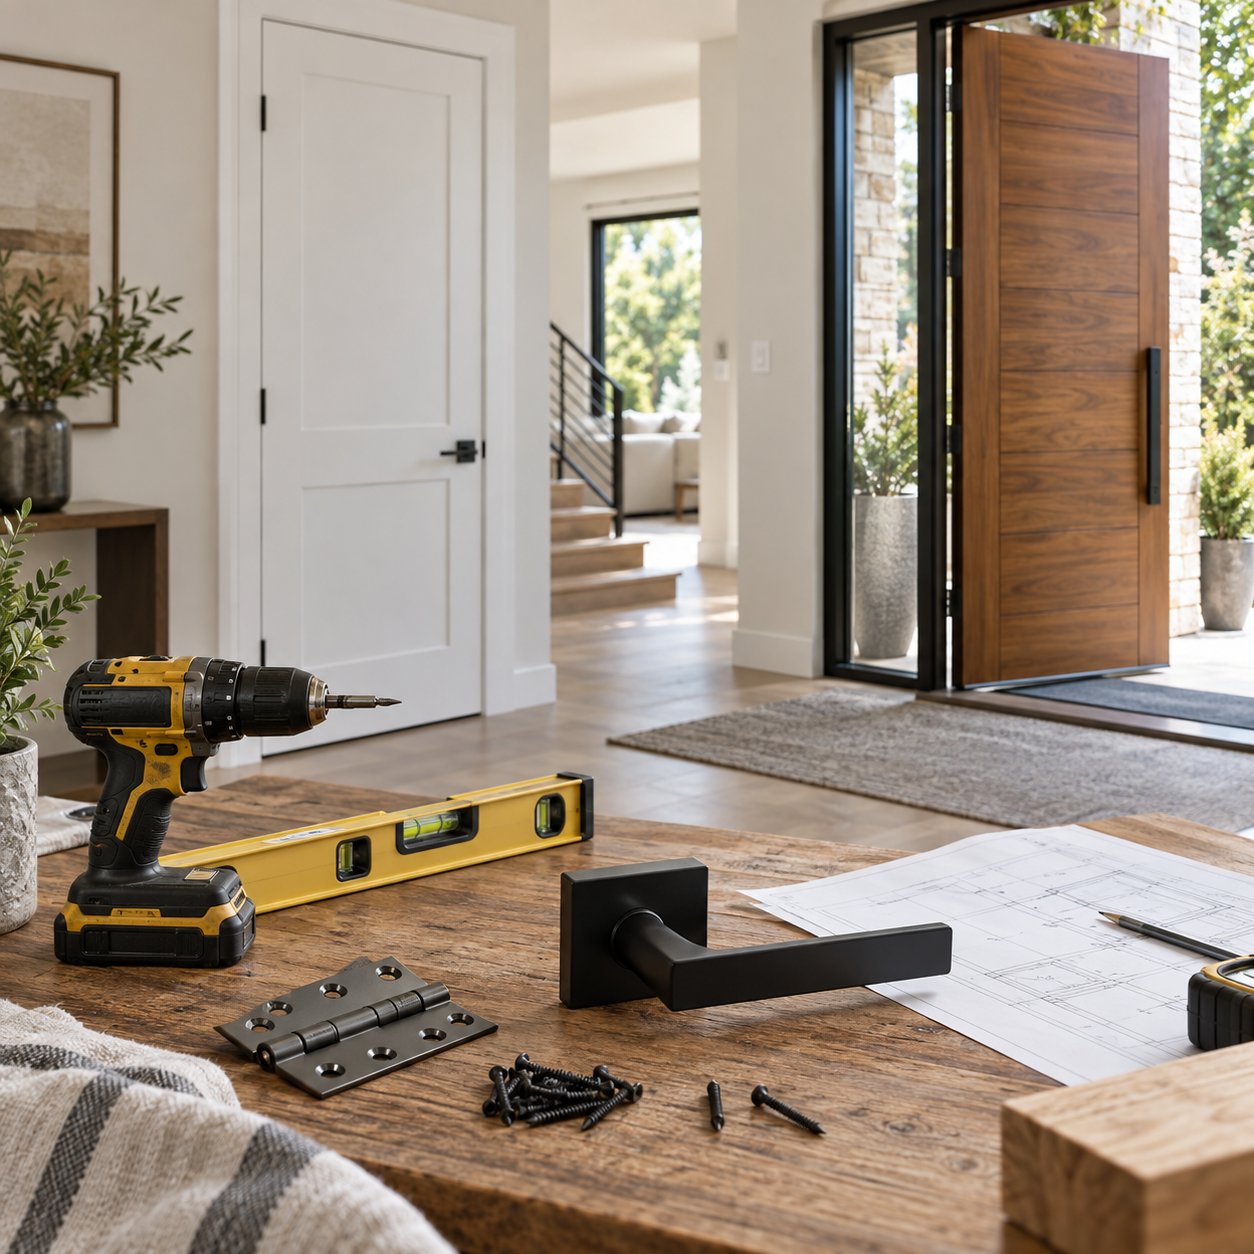
Interior & Exterior Doors
This guide walks you through the general installation process for both interior and exterior doors. Exterior door installation involves additional weatherproofing steps, which are noted throughout.
Before You Begin
Tools & Materials Needed:
- Tape measure and level
- Screwdriver / drill-driver
- Shims
- Utility knife
- Hammer and finish nails or a nail gun
- Caulk gun and exterior-grade caulk (exterior doors only)
- Spray foam insulation (low-expansion) or fiberglass insulation
- Safety glasses
Safety first: Doors are heavy and awkward. Use a helper, especially for exterior and double doors.
Step 1: Remove the Old Door
- Remove the old door by tapping out the hinge pins or unscrewing hinges.
- Remove the old jamb, trim, and any shims, being careful not to damage the surrounding wall.
- Inspect the rough opening for rot, water damage, or insect damage — repair before proceeding.
Step 2: Prepare the Opening
- Confirm the opening is clean, dry, and structurally sound.
- Exterior doors only: Apply a self-adhering flashing membrane around the sill and jack studs to create a water-resistant barrier before setting the door.
- Dry-fit the new door unit in the opening to confirm sizing before permanent installation.
Step 3: Set the Door Unit
- Apply a bead of caulk under the sill area (exterior doors) to seal against moisture.
- Place the door unit into the opening from the appropriate side (interior side for most installs).
- Center the unit in the opening, leaving even gaps on both sides.
Step 4: Plumb, Level, and Square
- Starting at the hinge side, insert shims behind the top, middle, and bottom hinge locations.
- Check the hinge-side jamb with a level to ensure it’s perfectly plumb — this is the most critical step, as everything else is referenced from here.
- Secure the hinge side with screws or nails through the shims into the framing.
- Close the door and check the reveal (gap) around the door — it should be even, roughly 1/8″ on all sides.
- Shim and fasten the latch-side jamb and head jamb, checking the door operation (open/close) as you go.
Step 5: Fasten Permanently
- Drive screws or finish nails through the jamb and shims into the framing at each hinge and shim location.
- Trim off excess shims flush with the wall using a utility knife.
- Exterior doors: Drive at least one long screw through the top hinge into the structural framing (not just the jamb) for extra security against forced entry.
Step 6: Insulate and Seal
- Fill the gap between the jamb and framing with low-expansion spray foam or fiberglass insulation — avoid high-expansion foam, which can bow the jamb.
- Exterior doors: Apply exterior-grade caulk around the outside perimeter of the frame where it meets the siding or trim, and along the threshold.
Step 7: Install Hardware and Trim
- Install the doorknob/lever, deadbolt (exterior), and strike plates.
- Exterior doors: Install the threshold and door sweep, adjusting for a snug but functional seal against the floor.
- Attach interior and exterior trim/casing, nailing into the framing.
- Fill nail holes, caulk trim edges, and paint or stain as needed.
Step 8: Test the Door
- Open and close the door fully to check for smooth operation.
- Confirm the latch and lock engage properly without excessive force.
- Exterior doors: Check for daylight or drafts around the frame and threshold; adjust the sweep or add weatherstripping as needed.
Common Mistakes to Avoid
- Skipping the plumb check on the hinge side — this causes the door to swing open or shut on its own.
- Using high-expansion foam, which can warp the jamb and bind the door.
- Forgetting to flash and seal exterior openings, leading to water intrusion.
- Over-tightening screws before the unit is fully shimmed and squared.
Not comfortable tackling this yourself? Exterior door installation in particular affects your home’s weatherproofing and security — our professional installation team is available to help.