
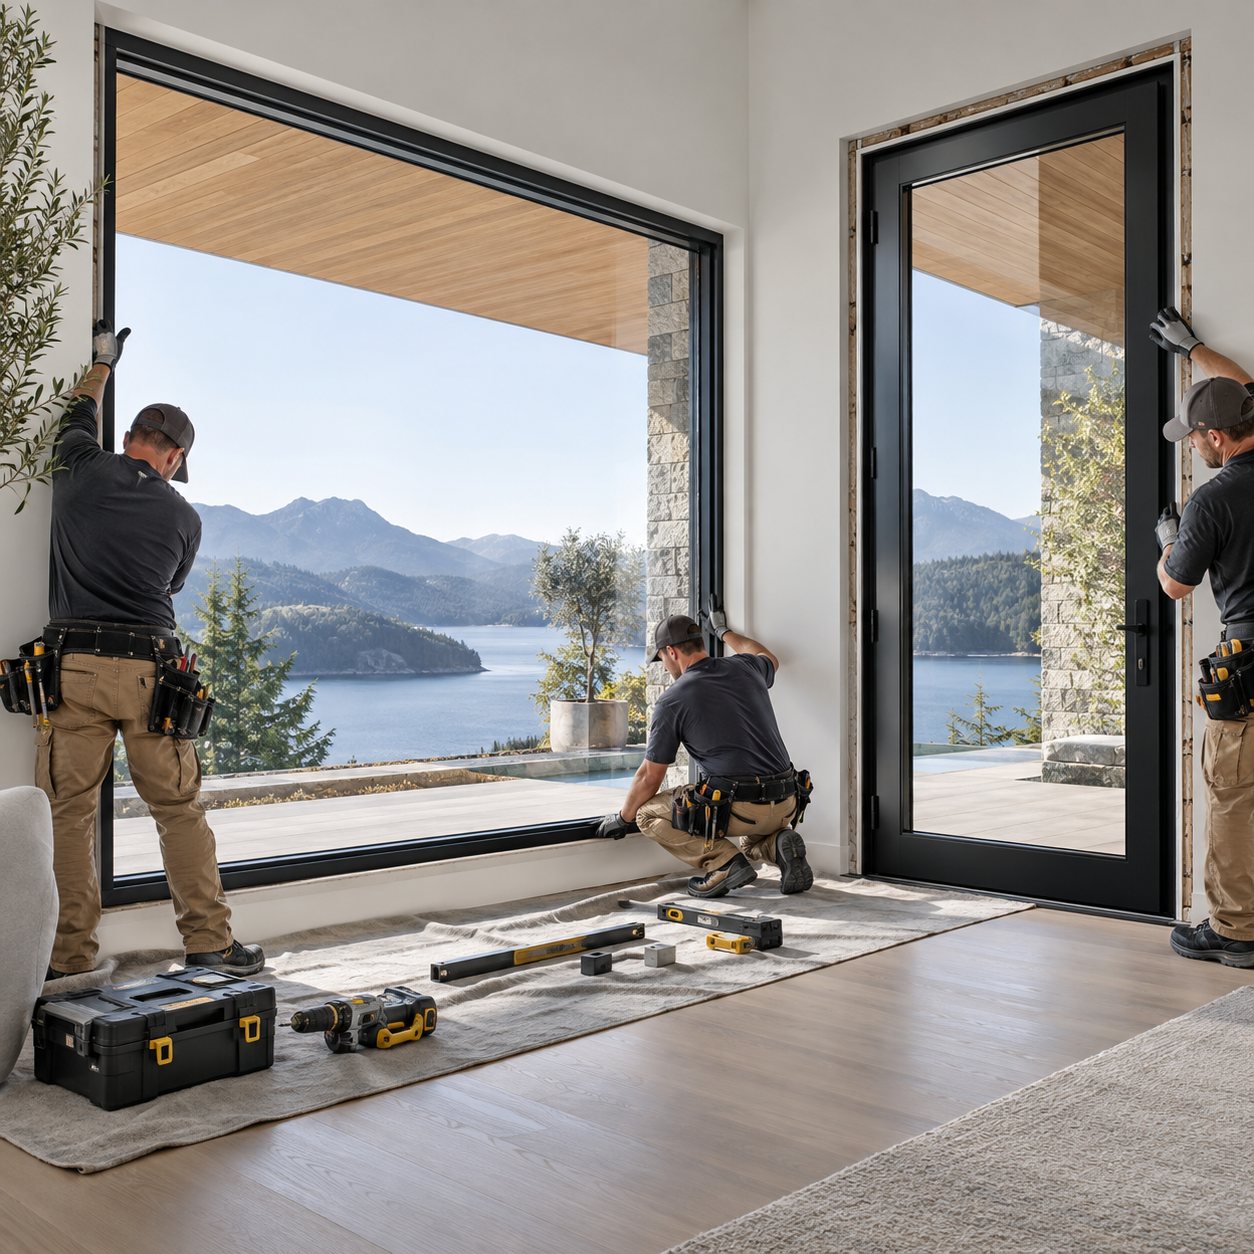
A picture unit has no moving parts, but it must sit perfectly level and square on solid support, because large fixed glass cannot flex to make up for a crooked frame. Most picture windows and fixed glass doors are heavy, so we recommend A1’s professional installation. Self-installation may affect warranty coverage; check our Limited Warranty Policy first.
Tools and materials
- Level (4–6 ft), tape measure, square
- Drill/driver and installation screws suited to your wall
- Composite or plastic shims and setting blocks
- Self-adhered flashing tape and sill pan
- Exterior-grade sealant compatible with aluminum (e.g. silicone)
- Low-expansion window and door foam
- Glass suction cups for handling large panes
- Safety glasses, cut-resistant gloves, and at least one helper (two or more for large units)
Before you start
- Check size, color and glass type against your order, and confirm safety (tempered) glass is marked where required.
- Inspect the glass and frame for shipping damage; report it before installation.
- Store the unit upright on its long edge, on padding — never flat.
- Plan the lift and clear the path to the opening.
Step 1: Prepare the opening
- Remove the old unit, debris, nails and old sealant.
- Confirm the sill or floor is level, flat and structurally solid. A picture unit puts all its weight on the sill.
- Install a sill pan or flashing tape, turned up 6 inches at each side, sloped to drain outward.
- On new construction, flash the side jambs, lapped over the sill flashing.
Step 2: Place setting blocks
Put shims or setting blocks on the sill at roughly the quarter points of the width (about one quarter in from each end). This spreads the weight and keeps the frame from sagging in the middle.
Step 3: Seal and set the frame
- Run a continuous bead of sealant on the opening face or fin (top and sides; leave short gaps at the bottom so water can drain).
- Using suction cups and helpers, tilt the unit in bottom first and press it into the sealant.
- Center it and hold it with one loose screw at a top corner.
Step 4: Level, plumb and square
- Adjust the sill shims until the frame is level.
- Shim the sides at the fastener points so the frame is plumb and does not bow.
- Check the diagonals match within 1/8 inch. Take extra care here — a racked frame can stress and crack large glass.
Step 5: Fasten
Drive screws at the spacing in the product instructions (typically every 12–16 inches and within 6 inches of each corner). Do not overdrive or pull the frame tight against an uneven wall. Recheck level and square.
Step 6: Flash the exterior
- Tape over the side fins, then the top fin, shingle-style.
- Leave the bottom fin untaped so water can drain.
- Seal between the frame and exterior finish.
Step 7: Insulate and finish
- Fill the perimeter gap with low-expansion foam; do not overfill.
- Trim cured foam and install interior trim.
- Remove the protective film from the frame.
Step 8: Final check
- Look along the frame for any bow or gap.
- Spray water on the outside (not a pressure washer) and check for leaks inside.
- Clean the glass and inspect for chips or scratches.
Picture units next to operable doors and windows
Fixed panels are often combined with sliding, bifold, casement or entry doors. Install and level the fixed unit first, then join (mull) the operable unit to it per the product instructions, sealing the joint between them.
Safety notes
- Never carry large glass flat; carry it upright on edge.
- Use at least two people — more for floor-to-ceiling units.
- Do not install in strong wind.
- Upper-floor or oversized picture units should be installed by professionals.