
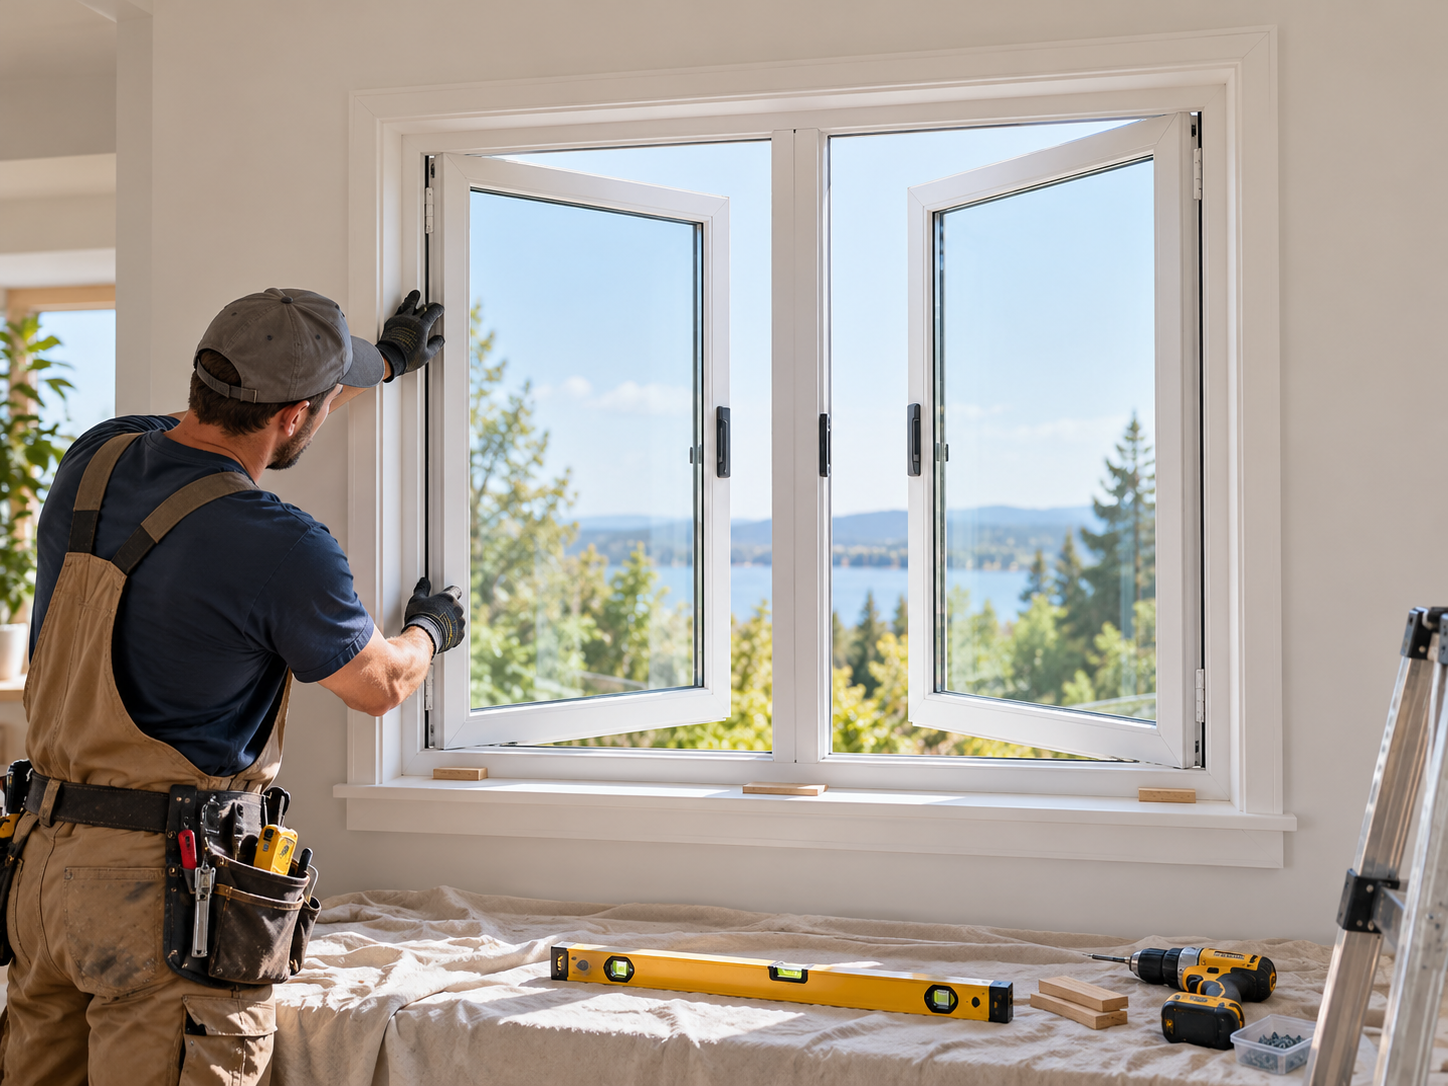
A casement is installed plumb, level and square, then sealed against water before the interior trim goes on. If the frame is even slightly racked, the sash will rub or fail to seal, so take time on shimming.
Tools and materials
- Level (4 ft for windows, 6 ft for doors), tape measure, square
- Drill/driver, installation screws supplied or recommended for your wall type
- Composite or plastic shims
- Self-adhered flashing tape and sill pan (or flexible sill flashing)
- Exterior-grade sealant compatible with aluminum (e.g., silicone)
- Low-expansion window and door foam
- Utility knife, pry bar, safety glasses and gloves
Before you start
- Check the product against your order: size, color, glass, and hinge side.
- Inspect for shipping damage and report it before installation.
- Keep the protective film on the frame until installation is finished.
- Confirm the rough opening is about 1/2 inch larger than the frame in width and height.
Step 1: Prepare the opening
- Remove the old unit and any loose debris, nails and old sealant.
- Check the sill is level and solid. Repair rot or damage now.
- Install a sill pan or flashing tape across the sill, turned up 6 inches at each side, so water drains to the outside.
- On new construction, apply flashing tape to the side jambs, lapped over the sill flashing.
Step 2: Dry-fit the unit
Set the frame in the opening without sealant. Check it sits centered with an even gap all round. Remove it.
Step 3: Seal and set the frame
- Run a continuous bead of sealant on the back of the nailing fin or on the opening face (top and sides; leave small gaps at the bottom so water can escape).
- With a helper, lift the unit in, bottom first, and press it against the opening.
- Center it and add one screw at a top corner, loosely, to hold it.
Step 4: Shim, level and square
- Shim under the sill at the corners until it is level.
- Shim at each hinge point and at the lock/handle point so the frame cannot bow.
- Check the sides are plumb and the diagonals match within 1/8 inch.
- Open and close the sash or door. It should move freely and close evenly against the weatherstrip.
Step 5: Fasten the frame
Drive screws through the fin or frame at the spacing in the product instructions (typically every 12–16 inches and within 6 inches of each corner). Do not overdrive — that can bend the frame. Recheck operation after fastening.
Step 6: Flash the exterior
- Apply flashing tape over the side fins, then over the top fin, shingle-style (top over sides).
- Never tape over the bottom fin; leave it free to drain.
- Seal the gap between frame and exterior finish with sealant.
Step 7: Insulate and finish the interior
- Fill the gap between frame and studs with low-expansion foam. Do not overfill; it can push the frame out of shape.
- Trim off excess once cured, then install interior trim.
- Remove the protective film.
Step 8: Adjust and test
- Open and close several times; the sash should not drag.
- Check the lock engages fully and pulls the sash tight to the seal.
- For doors, adjust the hinges so the gap around the panel is even, and check the threshold seals.
- Spray water on the outside (not a pressure washer) and check for leaks inside.
Safety notes
- Large casement doors and windows are heavy. Always lift with at least two people.
- Never stand on the sill or lean on an open sash.
- Upper-floor installation should be done from inside or by a professional.