
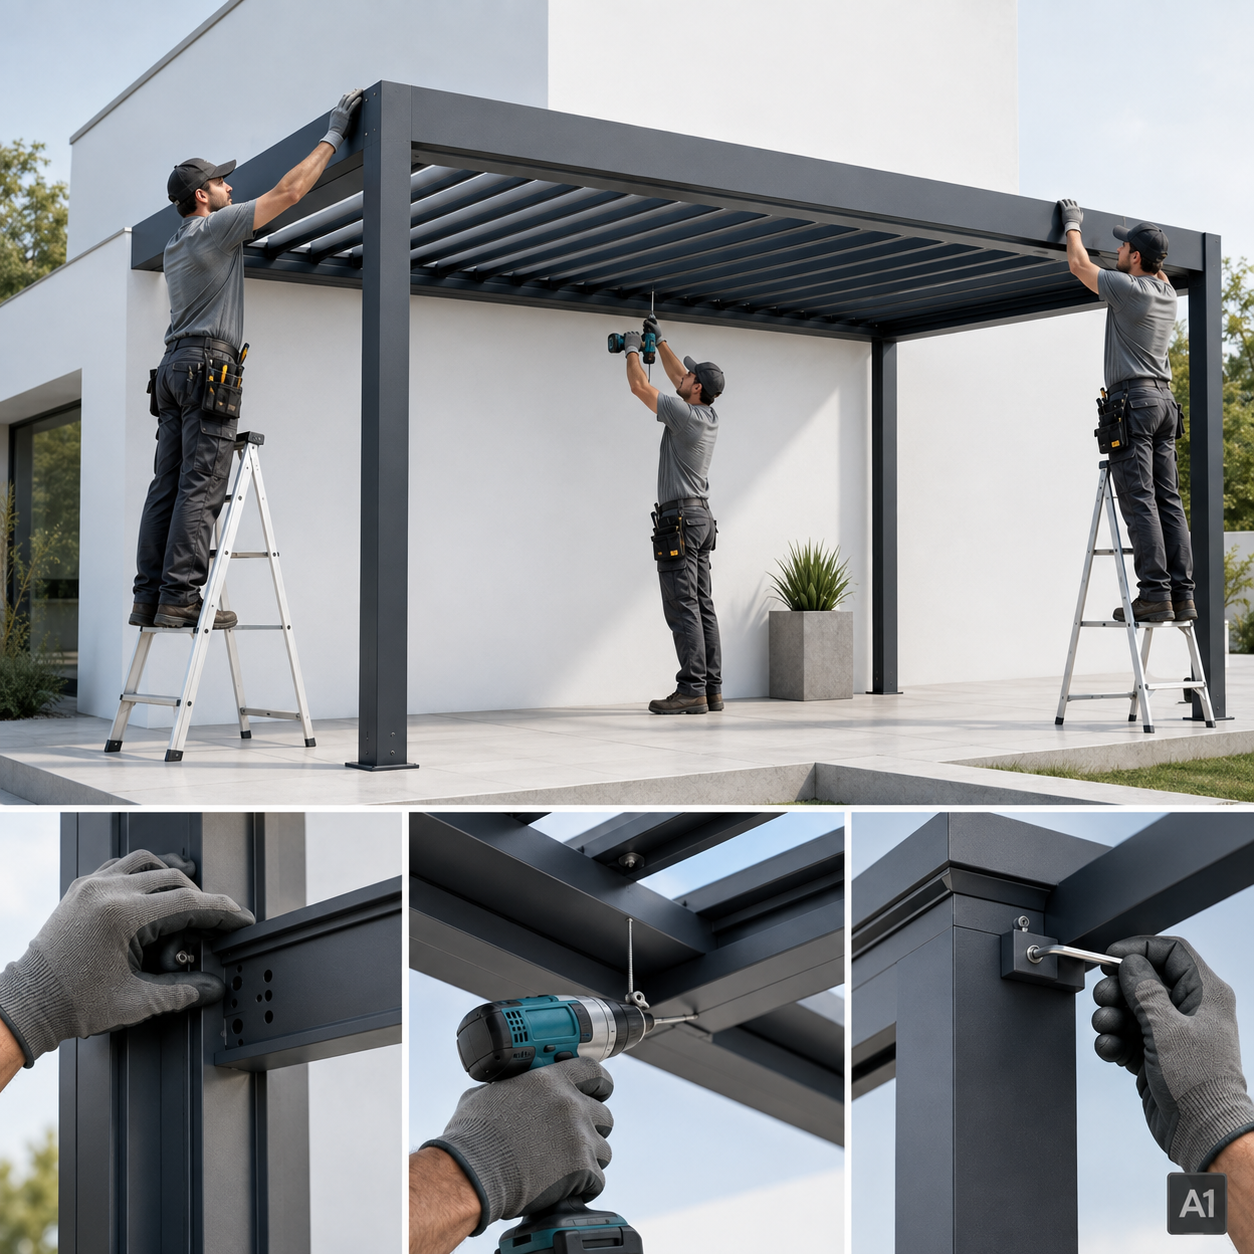
Installing an aluminum pergola is a significant home improvement project that adds shade, structure, and value to your outdoor space. While professional installation is always recommended for motorized and louvered systems, understanding the process helps you prepare your site and know what to expect.
Step 1: Site Assessment and Planning
Before installation begins, evaluate the intended location for level ground, proximity to your home, and access to power (required for motorized pergolas). Check local building codes and HOA guidelines, as many municipalities require a permit for permanent outdoor structures, especially wall-mounted or freestanding pergolas anchored to concrete footings.
Step 2: Preparing the Foundation
A stable foundation is essential for structural integrity. Depending on your pergola’s size and mounting type, this may involve pouring concrete footings, anchoring to an existing patio slab, or securing to a deck with reinforced brackets. Foundations must be level and cured properly before the frame is set, as an uneven base can cause louver misalignment later.
Step 3: Assembling the Frame
The aluminum posts and beams are assembled according to the engineered design specifications. For wall-mounted aluminum pergolas, one side attaches directly to the home’s exterior using a ledger board and structural anchors, while the opposite side is supported by freestanding posts. All connections are checked for square and level alignment before the frame is permanently secured.
Step 4: Installing the Louver System
For louvered and bioclimatic pergolas, the rotating blades are installed into the frame’s tracking system. Each louver is calibrated to ensure smooth, even rotation. This step requires precision, as misaligned louvers can affect both water drainage and motor performance.
Step 5: Motor and Smart Features Setup
For motorized pergolas, electrical wiring is run to the motor unit, which is then connected to a wall switch, remote control, or smart home app. Rain and wind sensors, if included, are calibrated at this stage so the system can respond automatically to weather changes.
Step 6: Final Inspection and Testing
Once assembled, the entire structure is tested — louvers are opened and closed fully, drainage is checked during a simulated water test, and all electrical components are verified. A final walkthrough ensures the pergola operates smoothly and meets both design specifications and local code requirements.