
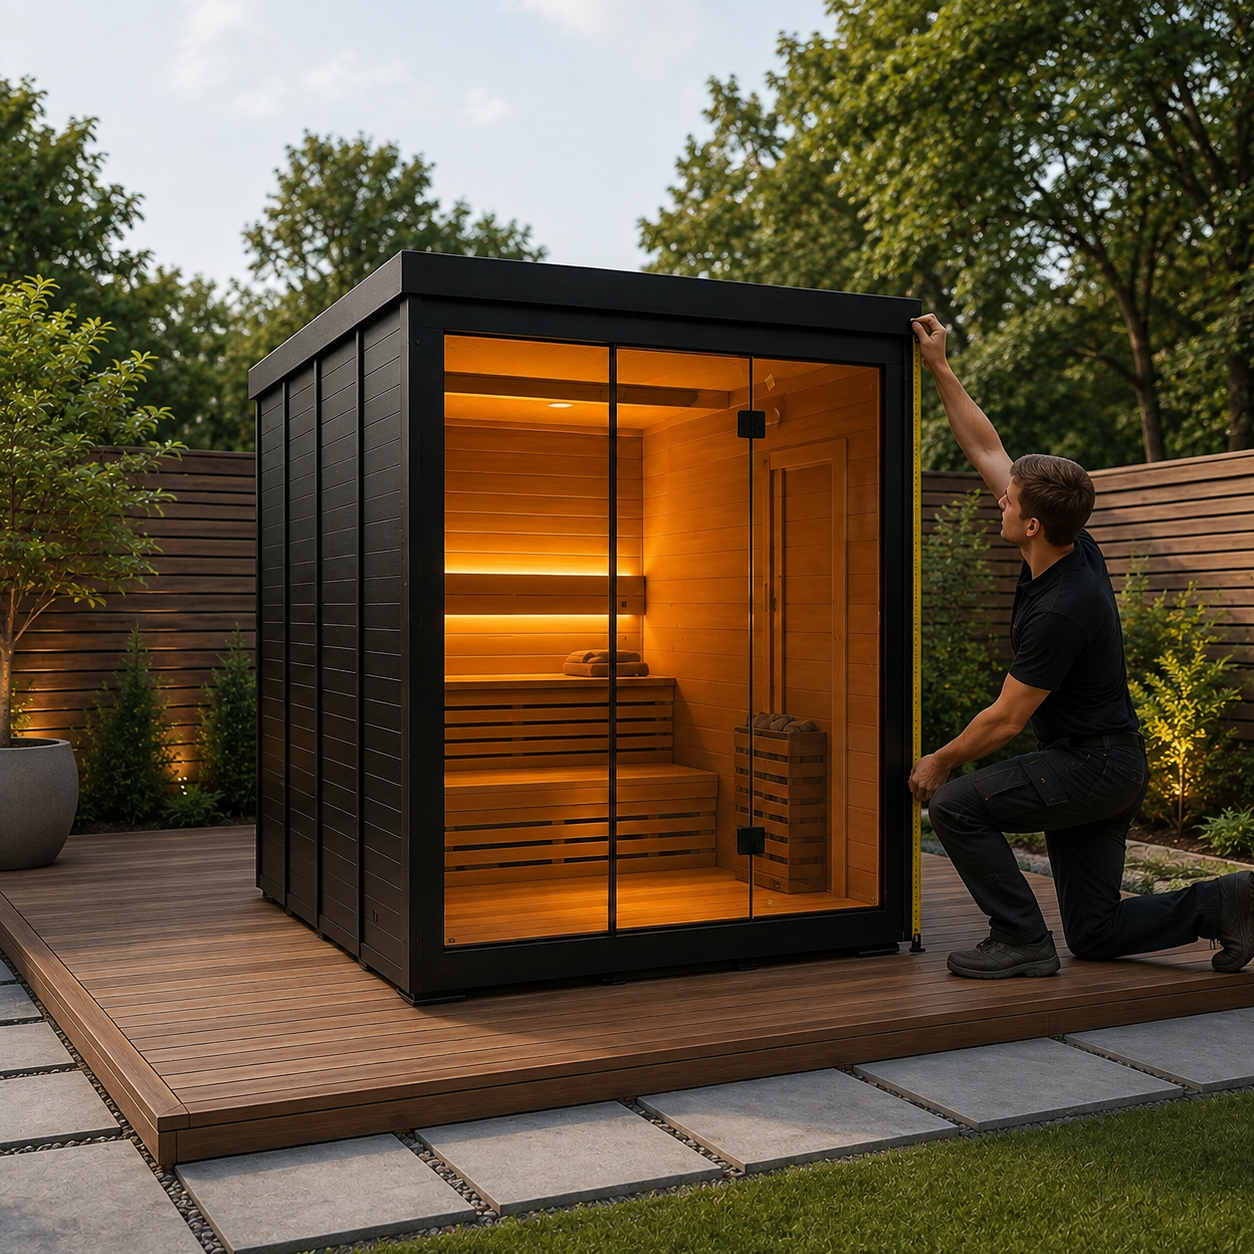
Buying an outdoor sauna is an exciting investment in your home and wellbeing, but before you fall in love with a particular model, you need to know whether it will actually fit — and function properly — in your outdoor space. Getting the measurements right the first time saves you from costly returns, awkward installations, or a sauna that feels cramped the moment you step inside. This guide walks you through every measurement you need to take before you buy.
Step 1: Measure Your Available Footprint
Start with the raw dimensions of the area where you plan to place the sauna. Using a tape measure or laser measuring tool, record the length and width of the space in feet or meters, and note the shape — square, rectangular, or irregular. Outdoor saunas typically range from compact 4×4-foot barrel units for one or two people to larger 8×10-foot cabin-style saunas that seat six or more.
Always measure the space at ground level and again at roughly six feet high, since overhanging tree branches, roof eaves, or fence lines can narrow the usable footprint even if the ground space looks generous. If your yard slopes, measure the elevation change across the footprint too, since this will affect foundation work later.
Step 2: Add Clearance on All Sides
A common mistake is measuring only for the sauna’s exact exterior dimensions and forgetting the clearance zone. Most manufacturers require:
- 12–24 inches of clearance on the sides and back for ventilation and structural airflow
- 36–48 inches in front of the door for comfortable entry and exit
- Additional clearance from combustible materials (fences, sheds, wood piles) if you’re installing a wood-fired heater — often 3 feet minimum, though local codes may require more
If your sauna will have a wood-burning stove with an external chimney, add extra vertical clearance — typically at least 2 feet above the roofline and 3 feet from any nearby structure — to meet fire safety standards.
Step 3: Account for Door Swing and Traffic Flow
Sauna doors usually swing outward for safety, so measure enough space in front of the entrance for the door to open fully without hitting a wall, railing, or piece of furniture. Also think about how people will walk from the house or pool area to the sauna. A direct, unobstructed path of at least 3 feet wide makes for safer, more comfortable movement, especially when moving between hot and cold environments (a common practice with sauna use).
Step 4: Measure for Foundation and Base
Outdoor saunas need a stable, level base — whether that’s a concrete slab, paver patio, gravel pad, or a raised wooden deck. Measure the footprint of the sauna and add 6–12 inches on each side to the base dimensions, giving you a stable surface to stand on when entering or exiting, and space for water runoff if you plan to rinse off outside the unit.
If you’re building a deck specifically for the sauna, confirm the load-bearing capacity per square foot. Saunas with stone heaters or thick cedar walls can weigh significantly more than lightweight cabin models, so check the manufacturer’s weight specifications and compare them against your deck or foundation’s rated capacity.
Step 5: Consider Interior Capacity vs. Exterior Footprint
Don’t just look at the exterior dimensions listed by the manufacturer — check the interior bench space and ceiling height too. A sauna’s exterior footprint might be 6×6 feet, but interior wall thickness (often 1.5–3 inches of insulated cedar) reduces usable space. For comfortable seating, plan for roughly 24 inches of bench width per person, and a ceiling height of at least 6.5 feet for standing room, though traditional saunas often run slightly lower to retain heat efficiently.
If you host groups or families, multiply your expected maximum occupancy by the per-person bench measurement to make sure the model you’re considering can actually accommodate everyone comfortably, rather than relying on the manufacturer’s stated capacity alone.
Step 6: Check Utility Access and Distances
Electric saunas need access to a dedicated circuit, and the distance from your home’s electrical panel to the sauna site affects both installation cost and code compliance. Measure this distance and note it for your electrician. Wood-fired saunas need clear space for firewood storage and safe ash disposal, so factor in a few extra feet nearby for a wood rack or storage bin.
If you’re adding a cold plunge, outdoor shower, or water source near the sauna, measure the distance to your nearest water line or spigot as well, since plumbing runs affect both budget and layout.
Step 7: Factor in Sun, Wind, and Privacy
While not a measurement in the traditional sense, take note of your yard’s sun exposure and prevailing wind direction. Orienting the sauna door away from prevailing winds keeps cold air from rushing in each time you enter, and positioning windows or the door to avoid direct afternoon sun can prevent the interior from overheating before you’ve even lit the heater. If privacy matters, measure sightlines from neighboring windows or fences to determine whether you’ll need a privacy screen or fence extension.
Step 8: Check Local Permit and Setback Requirements
Many municipalities have setback rules requiring structures to sit a minimum distance from property lines, typically 5–10 feet, though this varies widely. Measure from your proposed sauna location to each property boundary and compare it against your local zoning code before finalizing your plan. This step can save you from having to relocate or remove a completed installation.
Final Checklist Before You Buy
- Footprint dimensions (length x width, plus clearance)
- Vertical clearance for roofline, chimney, and overhangs
- Door swing space and walking path
- Foundation size and weight capacity
- Interior bench space per occupant
- Utility line distances (electrical, water)
- Property line setbacks and local code requirements
Taking the time to measure thoroughly before purchasing means your outdoor sauna will fit both your space and your lifestyle — comfortably, safely, and without surprises during installation.