
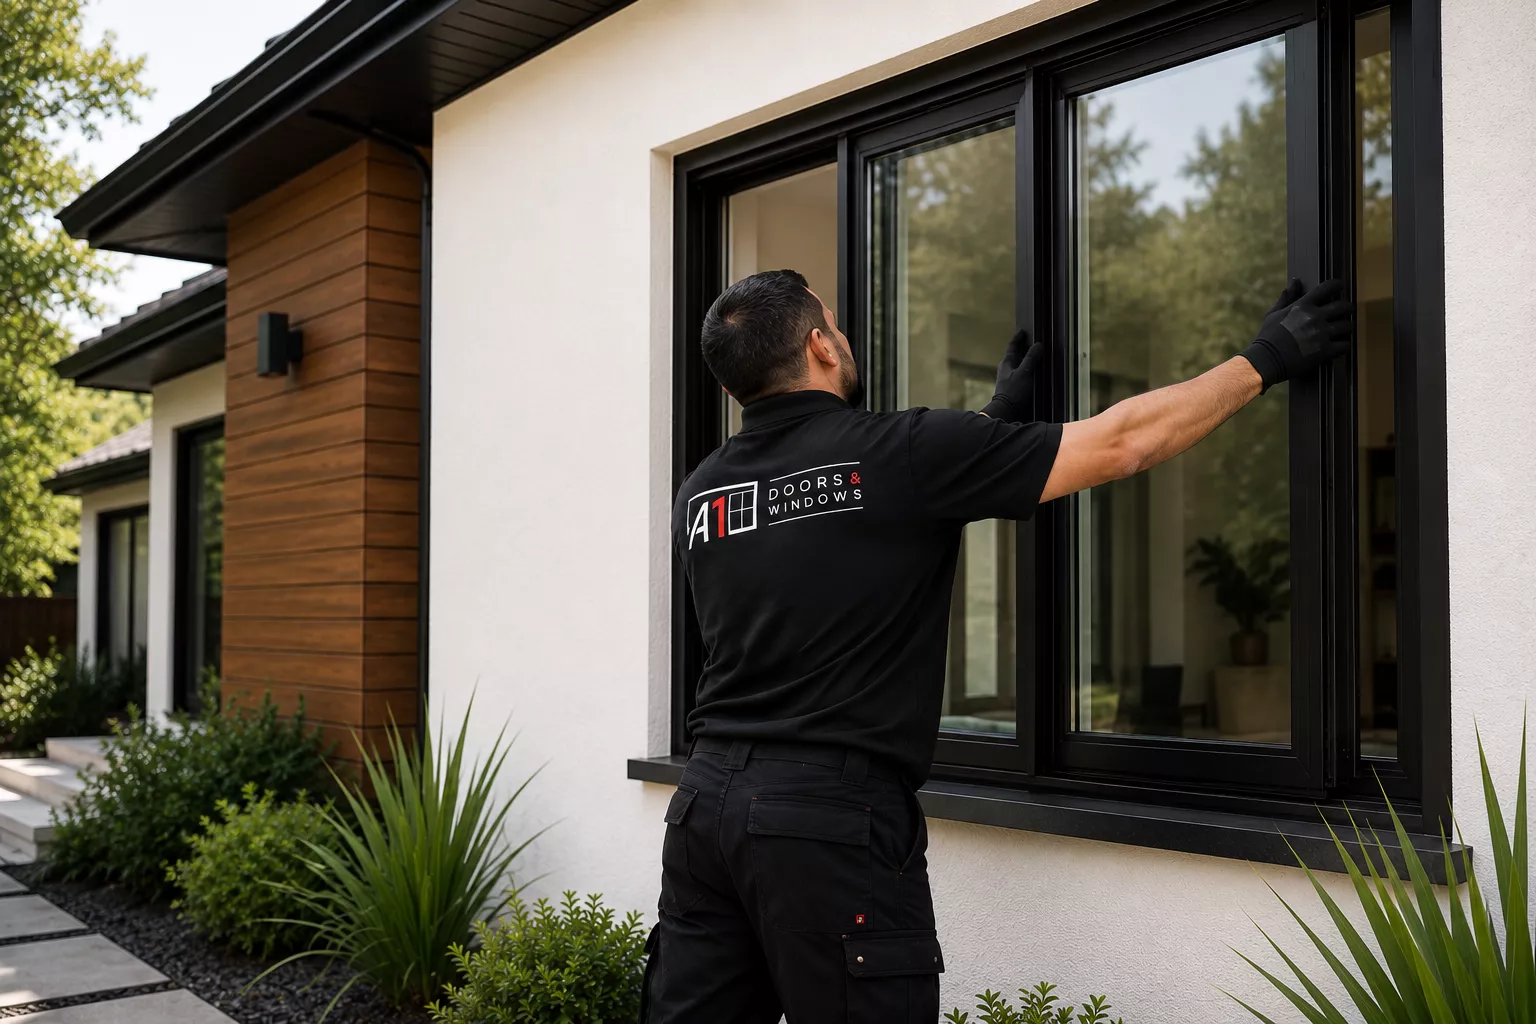
Modern vinyl window systems have evolved well beyond the standard double-hung or casement style. Vinyl sliding windows, bifold windows, folding-up (awning-style) windows, and gas strut windows each open up a space in a different way, but they share a lot of common ground when it comes to installation fundamentals. Vinyl construction adds the benefit of a frame that won’t warp, rot, or corrode, making it a popular choice across all four window styles. This guide walks through the general installation process that applies across all four vinyl window types, along with the specific considerations unique to each.
Why Window Type Matters for Installation
While the core steps of window installation — preparing the opening, setting the frame, sealing, and testing operation — are similar across the board, the moving parts differ significantly. Sliding windows rely on tracks and rollers, bifold windows use pivot hinges and top tracks, folding-up windows hinge outward or upward from the top, and gas strut windows use pressurized struts to hold the sash open at any angle. Understanding these differences up front helps you avoid installation mistakes that only show up once the window is in daily use.
Tools and Materials You’ll Need
- Tape measure and level
- Cordless drill and driver bits
- Shims (composite or cedar)
- Caulking gun and exterior-grade sealant
- Utility knife
- Safety glasses and gloves
- Manufacturer’s installation screws and fasteners
- A helper for larger units
Step 1: Prepare the Rough Opening
Regardless of window type, start by confirming the rough opening matches the manufacturer’s specified dimensions, typically with a small clearance allowance on all sides. Remove any existing window, trim, or debris, and check that the framing is level, plumb, and square. An out-of-square opening is the most common root cause of operational problems in every window type covered here, but it’s especially critical for sliding and bifold units where smooth track alignment depends on a true opening.
Step 2: Install Flashing and Weatherproofing
Install a sill pan or flashing tape system around the opening before setting the window, working from the bottom up so water sheds outward rather than pooling. This step applies to all exterior window types and is one of the most commonly overlooked steps in DIY installations, regardless of whether you’re installing a sliding, bifold, folding-up, or gas strut unit.
Step 3: Dry-Fit the Window
Before permanently fastening anything, set the window frame into the opening to check fit. With a helper for larger units, lift the frame into place and confirm it sits level and plumb. Use shims at the bottom corners to establish the correct height, then check the sill for level side to side.
Step 4: Secure the Frame
Shim along the sides and top of the frame at regular intervals to keep it square, then fasten through the manufacturer-specified screw locations, checking level and plumb after every few screws. Avoid overtightening, since window frames can bow or bind if fasteners are driven too hard — this is particularly important for sliding and bifold windows, where a bowed frame will cause the track to bind.
Type-Specific Installation Considerations
Sliding Windows
Once you secure the frame, install the sliding sash into the upper track first, then guide it down into the lower track. Slide the sash back and forth to verify smooth movement. When you shop custom and standard-size sliding windows, remember that you must adjust the roller height using the adjustment screws if the sash drags or fails to sit flush against the frame.
Bifold Windows
Attach the pivot brackets to the bottom of each panel and the guide pins to the top before hanging the panels. Install the top track level and centered in the opening. Hang the panels by angling the top pivot pin into the track first, then lowering the bottom pivot pin into its bracket. If you plan to shop custom and standard-size bifold windows, verify that panels fold evenly and adjust the pivot bracket height as needed so the panels close flush.
Folding-Up Windows
Folding-up windows typically hinge along the top of the frame and hold open using arms or struts. Install the hinge hardware first, ensuring you mount it level along the header, then attach the sash to the hinges. For those looking to shop custom and standard-size folding up windows, always check that the sash swings up freely without catching on the frame before you install any hold-open hardware.
Gas Strut Windows
Gas strut windows utilize pressurized struts instead of standard arms to hold the sash open at a chosen angle. Mount the strut brackets to both the frame and the sash according to the manufacturer’s template. You must position the angle and mounting points precisely; incorrect strut alignment causes the sash to drift or fail to hold its position. Before you shop custom and standard-size gas strut windows, understand that you must test the strut through its full range of motion prior to final fastening to confirm it holds the sash smoothly at multiple angles.
Step 5: Insulate and Seal
Fill the gap between the frame and rough opening with low-expansion spray foam, or use fiberglass insulation if the manufacturer recommends against foam. Install exterior trim and caulk all seams to create a weatherproof seal, paying particular attention to the corners and any hardware penetrations.
Step 6: Test Operation
Regardless of window type, cycle the window through its full range of motion several times before considering the job complete. For sliding and bifold windows, check for smooth, even movement along the entire track. For folding-up and gas strut windows, confirm the sash holds securely at multiple open positions and closes flush with the frame, with the lock engaging fully.
Common Mistakes to Avoid
- Skipping the level and square check on the rough opening
- Overdriving screws, which can warp or bow the frame
- Forgetting sill flashing on exterior installations
- Failing to test full range of motion before finishing trim work
- Misaligning gas strut brackets, leading to premature strut failure
- Not adjusting rollers or pivot brackets after initial installation
Final Thoughts
Vinyl sliding, bifold, folding-up, and gas strut windows each bring their own hardware and mechanics to the table, but they all depend on the same foundation: a square, level, well-sealed opening. Vinyl’s resistance to warping and corrosion means the frame itself stays true for years, so getting that foundation right up front pays off for the life of the window. Get that part right, and the type-specific hardware adjustments are usually straightforward. If an opening seems out of square or the window doesn’t operate smoothly after installation, it’s worth consulting a professional installer rather than forcing the fit.