
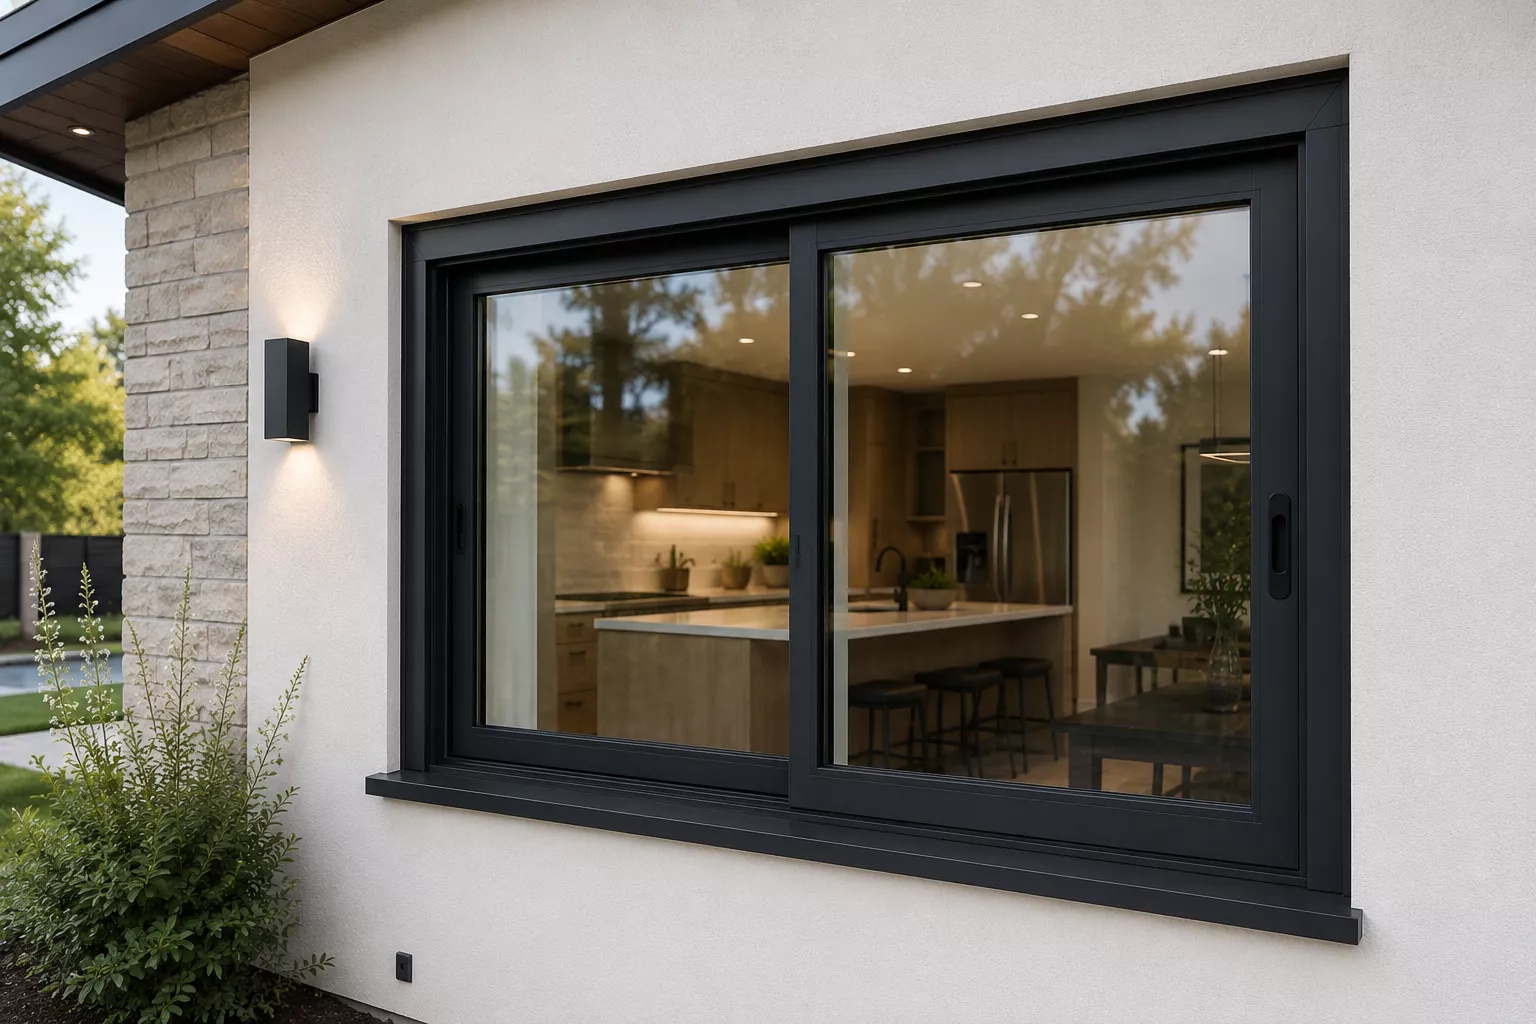
Sliding windows depend on a level, straight track and correctly adjusted rollers to glide smoothly and seal tightly when closed. Careful attention to track installation is the most important part of the process.
Before You Begin
Check the frame, fixed and sliding panels, rollers, track, handles, locking hardware, glass, and fixings for damage before starting. Confirm which panels are designated fixed and which are sliding.
Tools You’ll Need
Tape measure, spirit level, drill and bits, impact driver, screwdrivers, silicone sealant and gun, rubber mallet, packers/shims, utility knife, safety gloves and glasses, and a ladder if needed.
Prepare the Opening
Confirm the opening matches the manufactured frame, is square, and that the sill is level along its full length. Clear away debris and old sealant from the opening.
Position the Window Frame
Lift the frame into the opening, centring it with even clearance on all sides, and support it with packers. Check level and plumb along the head, jambs, and especially the sill before fixing.
Secure the Frame
Fix the frame at the recommended points, rechecking level and diagonal measurements after each fixing to ensure it hasn’t shifted or twisted, paying particular attention to the sill track remaining straight.
Install the Fixed Panel First
Fit the fixed panel into position according to the manufacturer’s sequence, and secure it firmly, as this panel establishes the reference line for the sliding panel’s seal.
Install the Sliding Panel
Lift the sliding panel onto the track, engaging the rollers correctly, and check it moves smoothly along its full travel without catching or binding.
Adjust the Rollers
Fine-tune the roller height so the sliding panel runs level and seals evenly against the fixed panel and frame when closed. Test the action several times, opening and closing fully.
Check Alignment
Confirm the sliding panel glides smoothly, closes flush against the fixed panel, and that the locking hardware aligns correctly when the window is shut.
Install Handles and Locking Hardware
Fit handles and locks as specified, checking smooth operation and secure engagement.
Apply Weather Seals and Sealant
Seal the perimeter frame with exterior-grade silicone, and check that the pile or brush seals between the fixed and sliding panels sit correctly. Keep the track’s drainage weep holes clear.
Final Checks
✔ Frame level
✔ Sill track straight and level
✔ Sliding panel glides smoothly
✔ Panels seal flush when closed
✔ Locks engage
✔ Handles operate
✔ Seals fit properly
✔ Weep holes clear
✔ Glass undamaged
Common Mistakes to Avoid
Installing onto an unlevel sill, fitting the sliding panel before the fixed panel is secure, under- or over-adjusting rollers, and blocking track weep holes with sealant.
FAQs
Can I install a sliding window myself?
Smaller residential units may suit experienced DIYers, but wider or commercial configurations should be professionally installed.
Why does my sliding panel drift open or closed?
This usually points to an unlevel sill track — check it with a spirit level before adjusting rollers.
Do sliding windows need weep holes?
Yes — these small drainage points in the track let water escape and must stay clear of sealant and debris.