
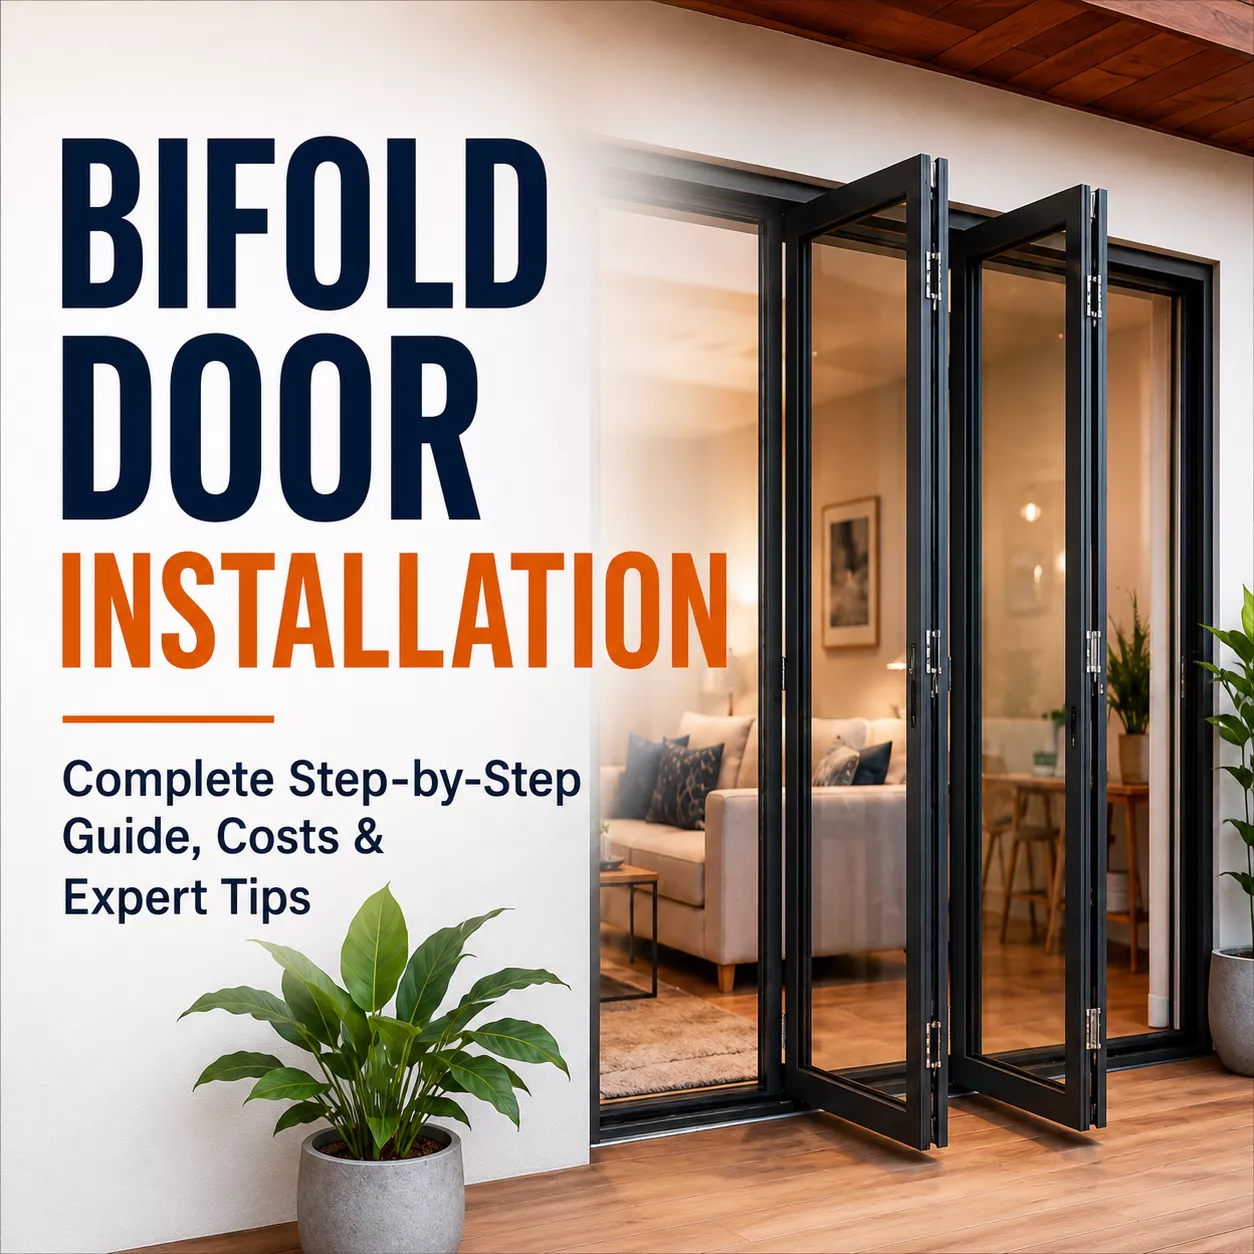
Bifold doors have become one of the most popular choices for homeowners looking to save space, let in more natural light, and add a modern touch to a room. Whether you’re fitting a set into a closet, connecting your living room to a patio, or replacing a tired old barn-style door, understanding how bifold door installation works will help you decide whether to tackle the project yourself or call in a professional.
This guide walks through the entire installation process from start to finish, covers the tools and hardware you’ll need, breaks down realistic costs, and highlights the mistakes that trip up even experienced DIYers.
Quick Answer: Bifold door installation involves measuring the opening, mounting a top track, attaching pivot brackets, hanging the door panels, aligning them so they fold smoothly, and finishing with handles or knobs. A simple closet door can be installed in 1–3 hours by a confident DIYer, while larger interior or exterior bifold systems are usually best left to a professional and can take a full day. Costs typically range from $150–$400 for a basic closet installation to $1,500–$5,000+ for exterior bifold door systems, depending on size, materials, and labor.
If you’d rather skip the guesswork entirely, browsing a curated range of ready-to-fit options through A1 Doors and Windows is a good way to see what’s available before you commit to a size, style, or finish.
What Is Bifold Door Installation?
Bifold door installation is the process of fitting a folding door system — made up of two or more hinged panels — into a doorway or opening so the panels fold neatly to one or both sides instead of swinging open like a traditional door. The panels run along a track (usually mounted at the top, sometimes with a supporting bottom track) and pivot on brackets fixed to the frame.
Bifold doors come in several styles, and the installation approach varies slightly depending on which type you’re working with:
- Closet bifold doors – lightweight panels used for wardrobes and storage spaces
- Interior bifold doors – used between rooms to divide space without losing floor area
- Exterior bifold doors – heavier, weather-sealed systems that open a room onto a patio or garden
- Patio bifold doors – a specific type of exterior door built for wide openings and glass panels
- Barn-style bifold doors – a hybrid of sliding and folding hardware, often chosen for a rustic look
Knowing which category your door falls into matters because it determines the hardware, track weight rating, and level of precision needed. If your current doors are warped, sticking, or the track is bent beyond adjustment, it’s usually more cost-effective to install a new set rather than repeatedly repair the old one.
Tools and Materials Needed for Bifold Door Installation
Having everything laid out before you start saves a lot of back-and-forth trips to the garage or hardware store.
Essential Tools
- Tape measure
- Spirit level
- Power drill with driver bits
- Screwdriver (flathead and Phillips)
- Pencil for marking
- Stud finder (for exterior or heavier doors)
- Safety glasses and gloves
Installation Hardware
- Top track (and bottom track/guide, if required)
- Pivot brackets (top and bottom)
- Rollers or guide pins
- Hinges connecting the door panels
- Handles or knobs
- Screws and fasteners appropriate to your frame material
Most bifold door installation kits include the track, brackets, rollers, and fasteners in one package, which simplifies things considerably for a first-time installer. If you’re unsure which hardware kit matches your door size and weight, it’s worth checking the specification sheet that comes with the doors or asking a supplier such as A1 Doors and Windows to confirm compatibility before you start drilling.
How to Install Bifold Doors (Step-by-Step)
Here’s the full process for installing bifold doors, from measuring the opening to the final adjustment.
Step 1 – Measure the Opening
Measure the width and height of the doorway at multiple points — top, middle, and bottom — since older frames are rarely perfectly square. Note the smallest width measurement, as this determines the maximum size door that will fit without binding.
Step 2 – Assemble the Door Panels
If your doors arrive unassembled or in sections, lay them flat and attach the connecting hinges according to the manufacturer’s layout. Make sure the hinges allow the panels to fold in the correct direction (typically inward, toward the room).
Step 3 – Install the Top Track
Cut the track to the width of the opening if needed, then position it level across the top of the frame. Mark the screw holes, pre-drill if you’re working with a hardwood frame, and secure the track firmly. A track that isn’t level is the single biggest cause of doors that stick or drag later on.
Step 4 – Install Pivot Brackets
Fit the top pivot bracket into the track at the side where the door will pivot, and install the bottom pivot bracket or floor socket directly beneath it. These two brackets need to line up vertically, or the door will hang at an angle.
Step 5 – Mount the Door Panels
Lift the assembled door panel and slot the top pivot pin into the bracket in the track, then lower the bottom pin into the floor socket. For the second panel (if fitting a pair), attach the roller or guide pin into the opposite end of the track.
Step 6 – Adjust Alignment
Most pivot brackets have an adjustment screw that lets you fine-tune how the door sits — raising or lowering it slightly, or adjusting how tightly it sits against the frame. Open and close the door slowly, watching for any drag or gap.
Step 7 – Install Handles and Knobs
Mark the handle or knob position on the leading edge of the door, typically around waist height, and drill pilot holes before attaching. Getting this measurement consistent across both panels makes a noticeable difference to the finished look.
Step 8 – Test and Fine-Tune the Doors
Open and close the doors several times, checking for smooth folding, even gaps along the frame, and no scraping on the floor or track. Make small adjustments to the pivot brackets as needed until the motion feels effortless.
Bifold Closet Door Installation
Closet doors are usually the most beginner-friendly bifold installation, since the panels are lighter and the opening is smaller.
Installing Bifold Closet Doors
The process mirrors the general steps above: mount the track, install pivot brackets on one or both sides, hang the panels, and adjust. Closet bifold doors typically rely on a top track only, with a floor guide rather than a full bottom track, which keeps the installation simpler.
Installing Doors with an Existing Frame
If you’re replacing old closet doors and the frame is in good condition, you can often reuse the existing track locations, provided the new doors match the original dimensions. Check that the frame is still square and that there’s no rot or damage before reinstalling into it.
Single vs Double Closet Doors
A single bifold door works well for narrow closets, pivoting on one side only. Double bifold doors (two sets of folding panels meeting in the middle) suit wider openings and distribute the weight more evenly, which reduces strain on the track over time.
Installing Different Types of Bifold Doors
Interior Bifold Doors
Used between living spaces, home offices, or as room dividers, interior bifold doors follow the standard installation steps but often benefit from a bottom track for extra stability, especially with glass or heavier wood panels.
Exterior Bifold Doors
Exterior systems are built to handle weather exposure and are considerably heavier, which means they usually require a reinforced frame, a full bottom track for weatherproofing and drainage, and precise alignment to maintain a proper seal. This is the category where hiring a professional is most strongly recommended, since a poorly sealed exterior bifold door can lead to water ingress and higher energy bills.
Bifold Barn Doors
Bifold barn doors combine sliding barn door hardware with folding panels. Installation involves mounting a heavy-duty rail above the opening, hanging the folding sections from rollers, and securing a floor guide to stop the bottom of the door swinging.
Single Bifold Doors
A single bifold door (rather than a matched pair) is common for narrow closets, pantries, or utility cupboards. The installation is identical to a standard bifold but only requires hardware on one pivot side.
Installing Bifold Door Hardware
Good hardware installation is what separates a door that glides smoothly for years from one that starts sticking within a few months.
Installing the Track
The track must be level along its entire length — even a slight tilt will cause the door to drift toward one side. Use a spirit level and check at several points, not just the ends.
Installing Handles
Handles are typically fitted to the leading panel edge at a comfortable height, generally 36–40 inches from the floor. Consistency between panels matters more for appearance than exact height.
Installing Knobs
Knobs are usually mounted on the same leading edge as handles would go, positioned centrally on the panel’s vertical stile so there’s enough clearance from the frame when the door folds open.
Hardware Alignment
Loose or misaligned brackets are the most common source of ongoing problems. Periodically checking that screws haven’t worked loose, especially in the first few weeks after installation, will catch small issues before they turn into a door that won’t close properly.
Bifold Door Installation Cost
Average Installation Costs
Closet doors sit at the lower end of the price range because the panels are lightweight and the hardware is simple. Exterior bifold systems cost significantly more due to the size, glazing, weatherproofing, and structural work often needed around the opening.
Labor Costs
Professional installers may charge by the hour or per door. Exterior systems usually take longer to install. They require precise sealing and may need frame reinforcement. Labor often costs between $75 and $150 per hour. Larger projects may have a flat installation rate.
DIY vs Professional Installation
DIY installation saves on labor costs but requires accurate measuring, a level opening, and patience with fine adjustments. Professional installation costs more upfront but usually comes with a workmanship warranty and is the safer choice for heavy exterior or wide multi-panel systems.
Factors Affecting Cost
- Door material (vinyl, wood, aluminum, glass)
- Number of panels and overall width
- Whether the existing frame needs repair or replacement
- Interior vs exterior application
- Local labor rates
If you’re comparing costs, it can help to browse pricing on ready-made systems like those available through A1 Doors and Windows to get a realistic sense of what different materials and sizes cost before budgeting for labor.
Common Bifold Door Installation Mistakes
- Incorrect measurements – measuring only once or ignoring an out-of-square frame leads to doors that never sit right
- Misaligned tracks – even a small tilt causes dragging, gaps, or doors that swing shut on their own
- Poor hardware installation – over-tightened or under-tightened brackets both cause problems down the line
- Uneven floor issues – an uneven floor can throw off the bottom pivot or guide, even when the track above is perfectly level
- Improper adjustments – skipping the fine-tuning step and assuming the door will “settle in” on its own usually leads to ongoing sticking or scraping
How to Adjust and Maintain Bifold Doors After Installation
A little regular maintenance keeps bifold doors operating smoothly for years:
- Cleaning tracks – dust and debris build up quickly and are one of the most common causes of sticking
- Lubricating rollers – a light silicone-based lubricant on rollers and pivot points prevents squeaking and wear
- Tightening hardware – check screws in brackets and hinges every few months, especially on frequently used doors
- Realigning doors – use the adjustment screws on the pivot brackets if the door starts to drag or the gap along the frame becomes uneven
- Preventing sticking – keep the track clear and avoid painting over moving parts during any redecorating
DIY vs Professional Bifold Door Installation
| DIY Installation | Professional Installation |
| Lower upfront cost | Higher upfront cost, includes labor |
| Suitable for simple, lightweight doors like closets | Ideal for large, heavy, or exterior systems |
| Requires your own tools and some experience | Installer brings specialized tools and expertise |
| Risk of installation errors affecting long-term performance | Faster completion with fewer callbacks |
| No formal warranty on workmanship | Often includes a workmanship warranty |
For a straightforward closet door, most people with basic DIY confidence can manage the installation in an afternoon. For exterior or multi-panel systems, the combination of weight, weatherproofing, and precision alignment usually makes professional installation the more reliable choice.